Your property reel has seconds to show buyers why a viewing is worth their time. Focus on the kitchen, primary bedroom, bathrooms, and features that make daily life easier, such as updated appliances or flexible layouts. Smooth, well-lit footage can also help viewers understand the home’s flow and curb appeal. Skip clutter and distracting effects—but the right filming choices aren’t always obvious.
Plan Your Property Reel Around Buyer Needs
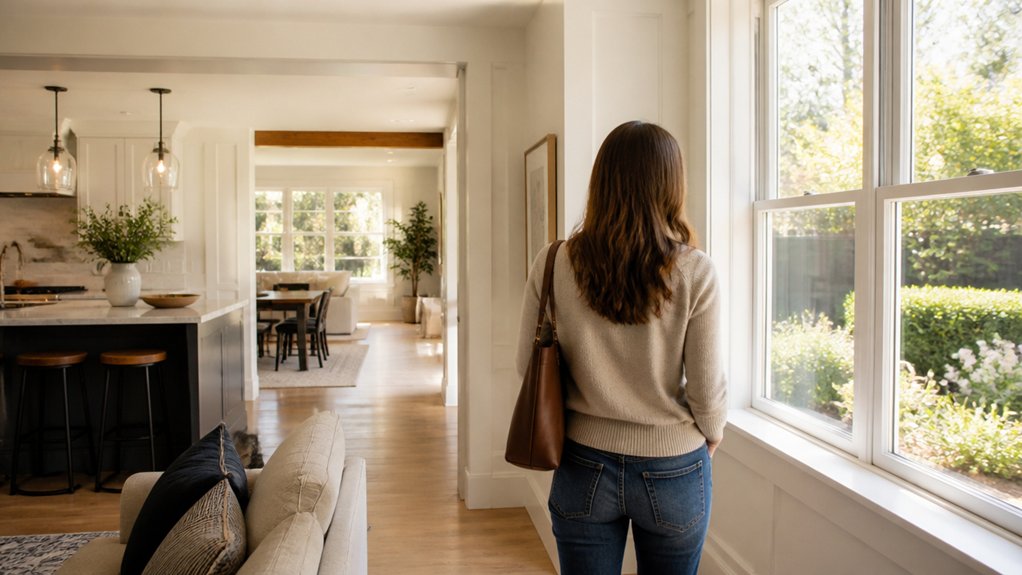
Before you film, identify what your likely buyers care about most—such as commute times, storage, outdoor space, or room to work from home. Use market research to validate those priorities: review recent buyer inquiries, viewing feedback, and comparable listings in your area. These signals help you shape a reel around evidence, not assumptions.
Define your target audience as specifically as possible. A first-time buyer may value predictable costs and convenient transport, while a growing household may focus on flexibility and access to schools. Match your messaging to the needs that matter most to that group, and lead with benefits your property can credibly deliver.
Keep the reel’s purpose clear: attract qualified viewers who can picture the property fitting their lives. When each decision reflects buyer priorities, your video earns attention, sets accurate expectations, and gives interested prospects a stronger reason to book a viewing.
Choose the Rooms and Features to Film
Once you’ve identified what buyers value, choose rooms and features that show how the property meets those needs. Prioritize spaces that influence a viewing decision: the kitchen, main living area, primary bedroom, and any standout bathroom. If remote work matters to your target audience, include a dedicated office; if storage is a selling point, show built-ins or a walk-in closet. Select details that prove practical benefits, such as updated appliances, energy-efficient windows, or a flexible floor plan. Don’t give every room equal screen time. Allocate more footage to high-value features, and skip minor finishes that won’t change a buyer’s assessment. Include Exterior landscaping when curb appeal is a priority, and capture lighting highlights that make rooms feel bright and welcoming. Each shot should answer a buyer’s question or strengthen the property’s appeal.
Shoot Smoothly and Show the Layout
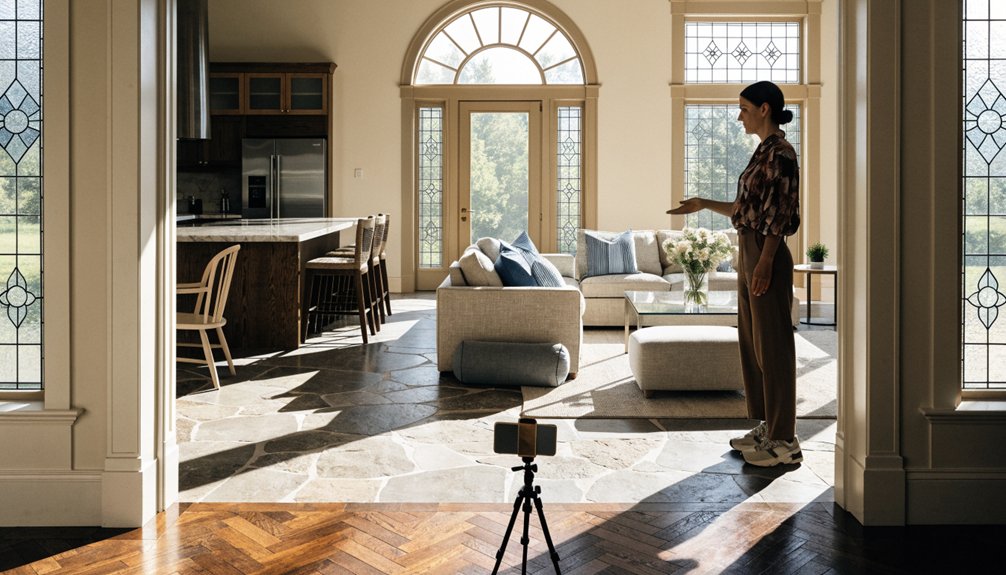
A smooth, well-planned walkthrough helps buyers understand how the rooms connect, not just what each one looks like. Start at the entrance and follow a natural route, revealing progressions between key spaces. This sequence gives viewers a clearer sense of the property’s flow and helps them judge whether it fits their needs.
Move at a measured pace, allowing each room enough screen time to register. Use consistent Lighting techniques, such as opening curtains and switching on lamps, so details remain visible across changing spaces. Record when the home is quiet, and check Sound quality before filming; clear audio makes narration easier to follow and helps the reel feel polished. Plan your route in advance, then capture a brief test run. A coherent walkthrough can turn a quick viewing into a useful first impression and encourage buyers to book an in-person visit.
Avoid Clutter, Shaky Pans, and Distracting Effects
Keep the frame clean and the camera steady, because visual distractions can make buyers miss the property’s best features. Clear counters, tidy floors, and remove personal items before filming. A clutter-free room helps viewers assess its size, storage, and natural light without competing details. Don’t make it overly staged, though; a few thoughtful touches can make a space feel welcoming while keeping it believable.
Use a tripod or stabilizer, and move slowly between rooms. Shaky pans can cause discomfort and make it harder for viewers to follow the layout. Avoid excessive effects, filters, and flashy transitions, which may obscure finishes or create doubts about how the home looks in person. Keep attention on the property, not the production. When each shot feels calm and clear, viewers can picture themselves there and decide whether to book a viewing.
Edit Your Property Reel for More Viewings
Edit your reel to answer buyers’ questions quickly and give them a clear reason to book a viewing. Open with the home’s strongest feature, then sequence rooms logically so viewers can understand the layout without rewinding. Keep each shot long enough to assess, but cut pauses, repeated angles, and transitions that delay useful details. A concise reel respects attention and helps more prospects reach the call to action.
Correct exposure and white balance before adding effects; consistent Lighting techniques make rooms feel inviting without misrepresenting them. Prioritize audio clarity: remove wind, echo, and distracting background noise, or use restrained music beneath narration. Add brief labels for price, location, and key features, checking that text stays readable on mobile. Finish with one direct prompt to book a viewing, plus contact details. Track watch time, saves, and inquiries to refine future edits.
Conclusion
Build your property reel around the questions buyers actually ask: Does the home flow well? Is the kitchen practical? Does the light feel inviting? Show the spaces and features that answer those questions, then cut clutter, shaky pans, and effects that muddy the picture. Think of your reel as a guided open house, not a highlight reel of every detail. End with a clear invitation to book a viewing, and turn a few well-chosen seconds into your next qualified inquiry.